Quick Start
1
Sign Up
Go to app.gurubase.io and create an account with
Google or GitHub.
2
Create a Guru
Click Create Guru and configure: - Name: A descriptive name for your
AI agent - Logo: Upload an image (PNG/JPEG, max 1MB) - Topics:
Keywords that define your Guru’s expertise (e.g., “kubernetes, devops,
cloud”)
3
Add Data Sources
Build your knowledge base by adding content. See Supported Data
Sources below.
4
Publish
Click Publish Guru to start indexing. Once complete, your Guru is ready
to answer questions.
Supported Data Sources
Website
Crawl sites or import via sitemap
PDF / Docx / Excel
Upload documents and spreadsheets
GitHub
Index repositories and code
Zendesk
Import tickets and KB articles
Confluence
Sync spaces and pages
Jira
Index issues and projects
Salesforce
Sync knowledge articles and CRM content
Google Drive
Connect docs and files
Slack
Import conversations
YouTube
Transcribe video content
Deploy Your Guru
Once created, deploy your Guru across multiple channels:Website Widget
Embed on your website
Zendesk
AI copilot for support
Slack
Answer in Slack channels
Discord
Community support bot
GitHub
AI on GitHub issues
Jira
AI on Jira issues
MCP
Expose your Guru to Claude Desktop, Cursor, and MCP clients
API
Build custom integrations
Self-Hosted (Enterprise)
Self-hosted deployments are available under the Enterprise plan. Contact
us to get started.
Managing Your Guru
Once deployed, use these tools to maintain and optimize your Guru.Source Management
Click the menu icon (⋮) next to any source to access management options: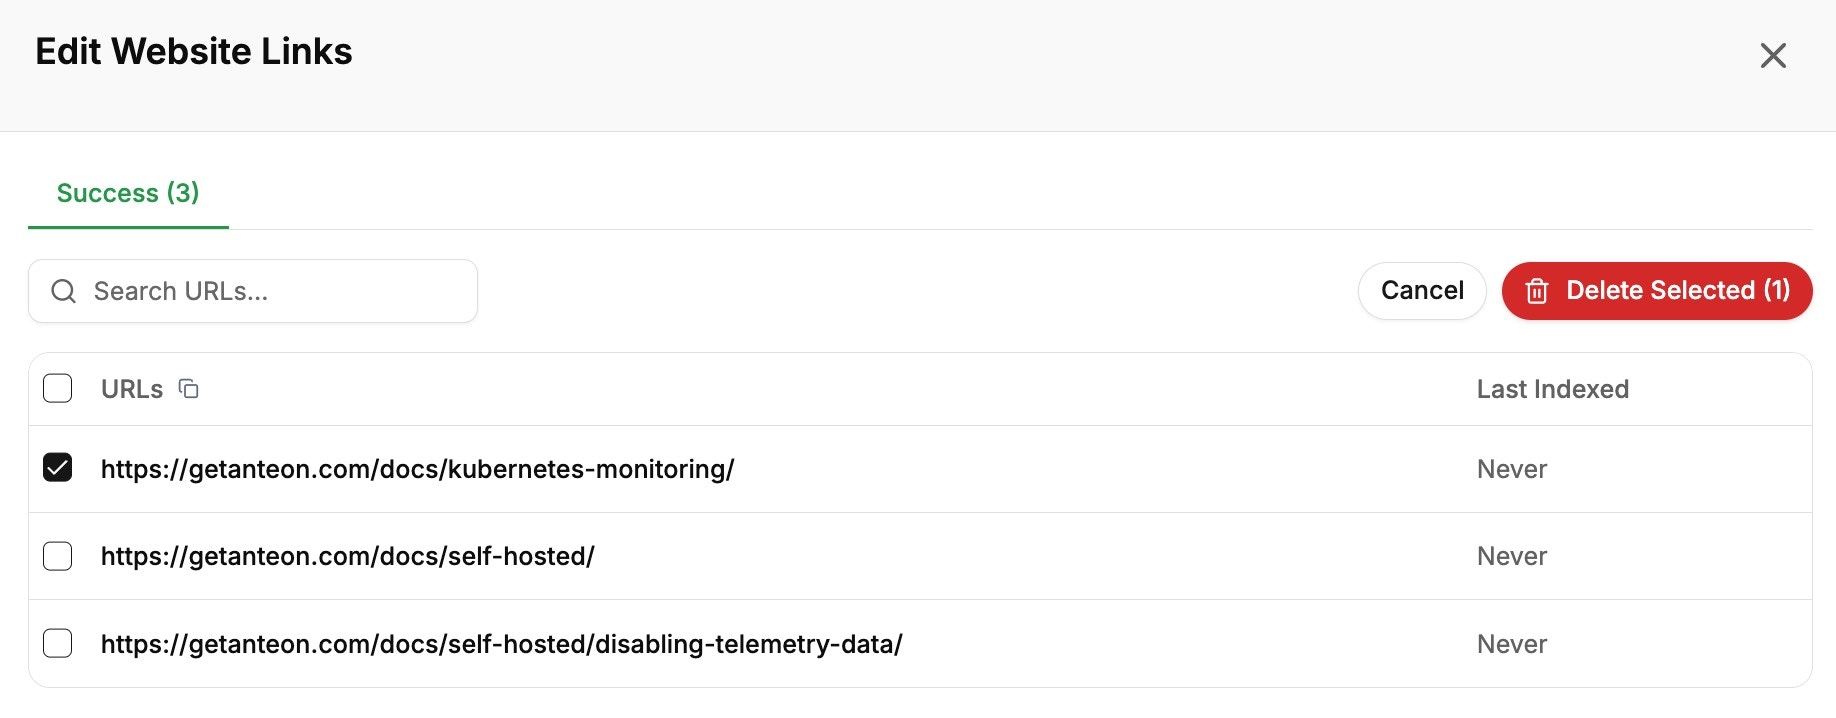
Keeping Content Fresh
Best Practice: Reindex sources regularly, especially for frequently
updated websites and documentation. This ensures your Guru provides current,
accurate information.
Additional Settings
- Profile Updates - Modify name, logo, and topics
- Advanced Settings - Configure example questions, KB editor presets, and more
- Team Management - Add team members and manage access
- Trust Score Threshold - Adjust answer confidence requirements for your domain (contact us to configure)
Next Steps
Analytics
Monitor how users interact with your Guru
Data Sources
Learn about all supported data sources
Example Questions
Configure suggested questions for your widget
API Reference
Build custom integrations