Roles Overview
| Role | Permissions |
|---|---|
| Owner | Full control: manage settings, data sources, team members, and delete Guru |
| Member | Access and modify Guru content and data sources (full admin panel access) |
| End User | Ask questions only. Cannot access admin panel (Settings, Actions, Secrets, Integrations, Analytics, Team, etc.) |
The End User role is controlled via the built-in End Users group. Add
a team member to the End Users group to restrict them to question-asking only.
See End Users Group below.
Gurubase Cloud
View Team Members
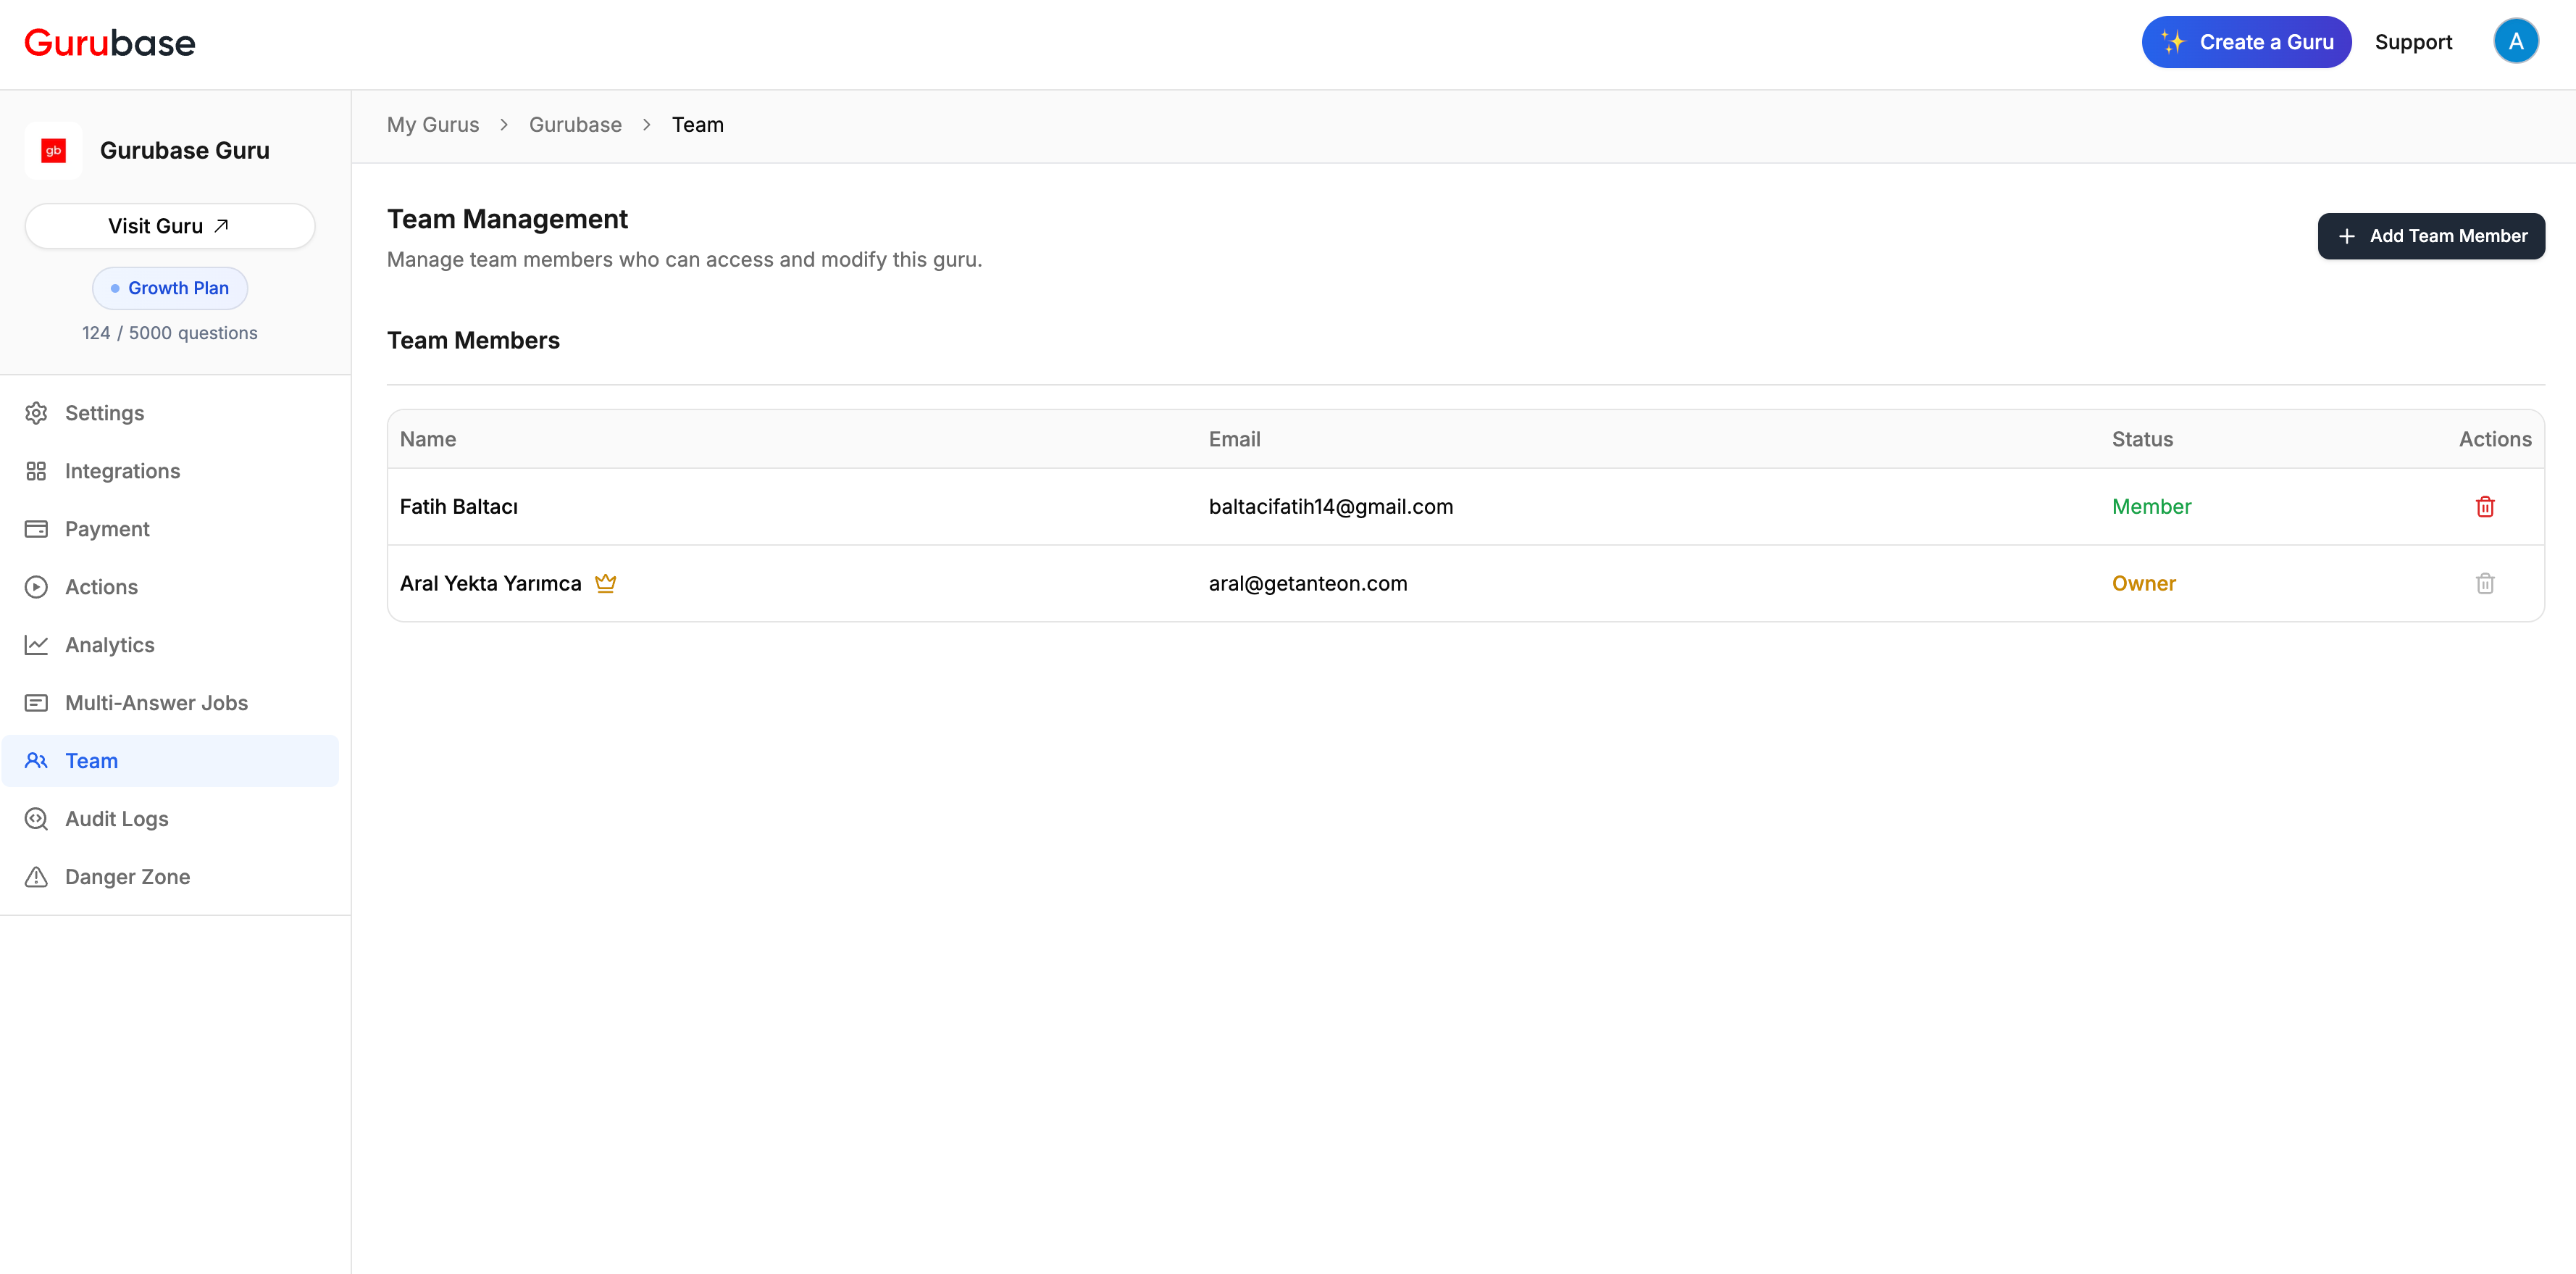
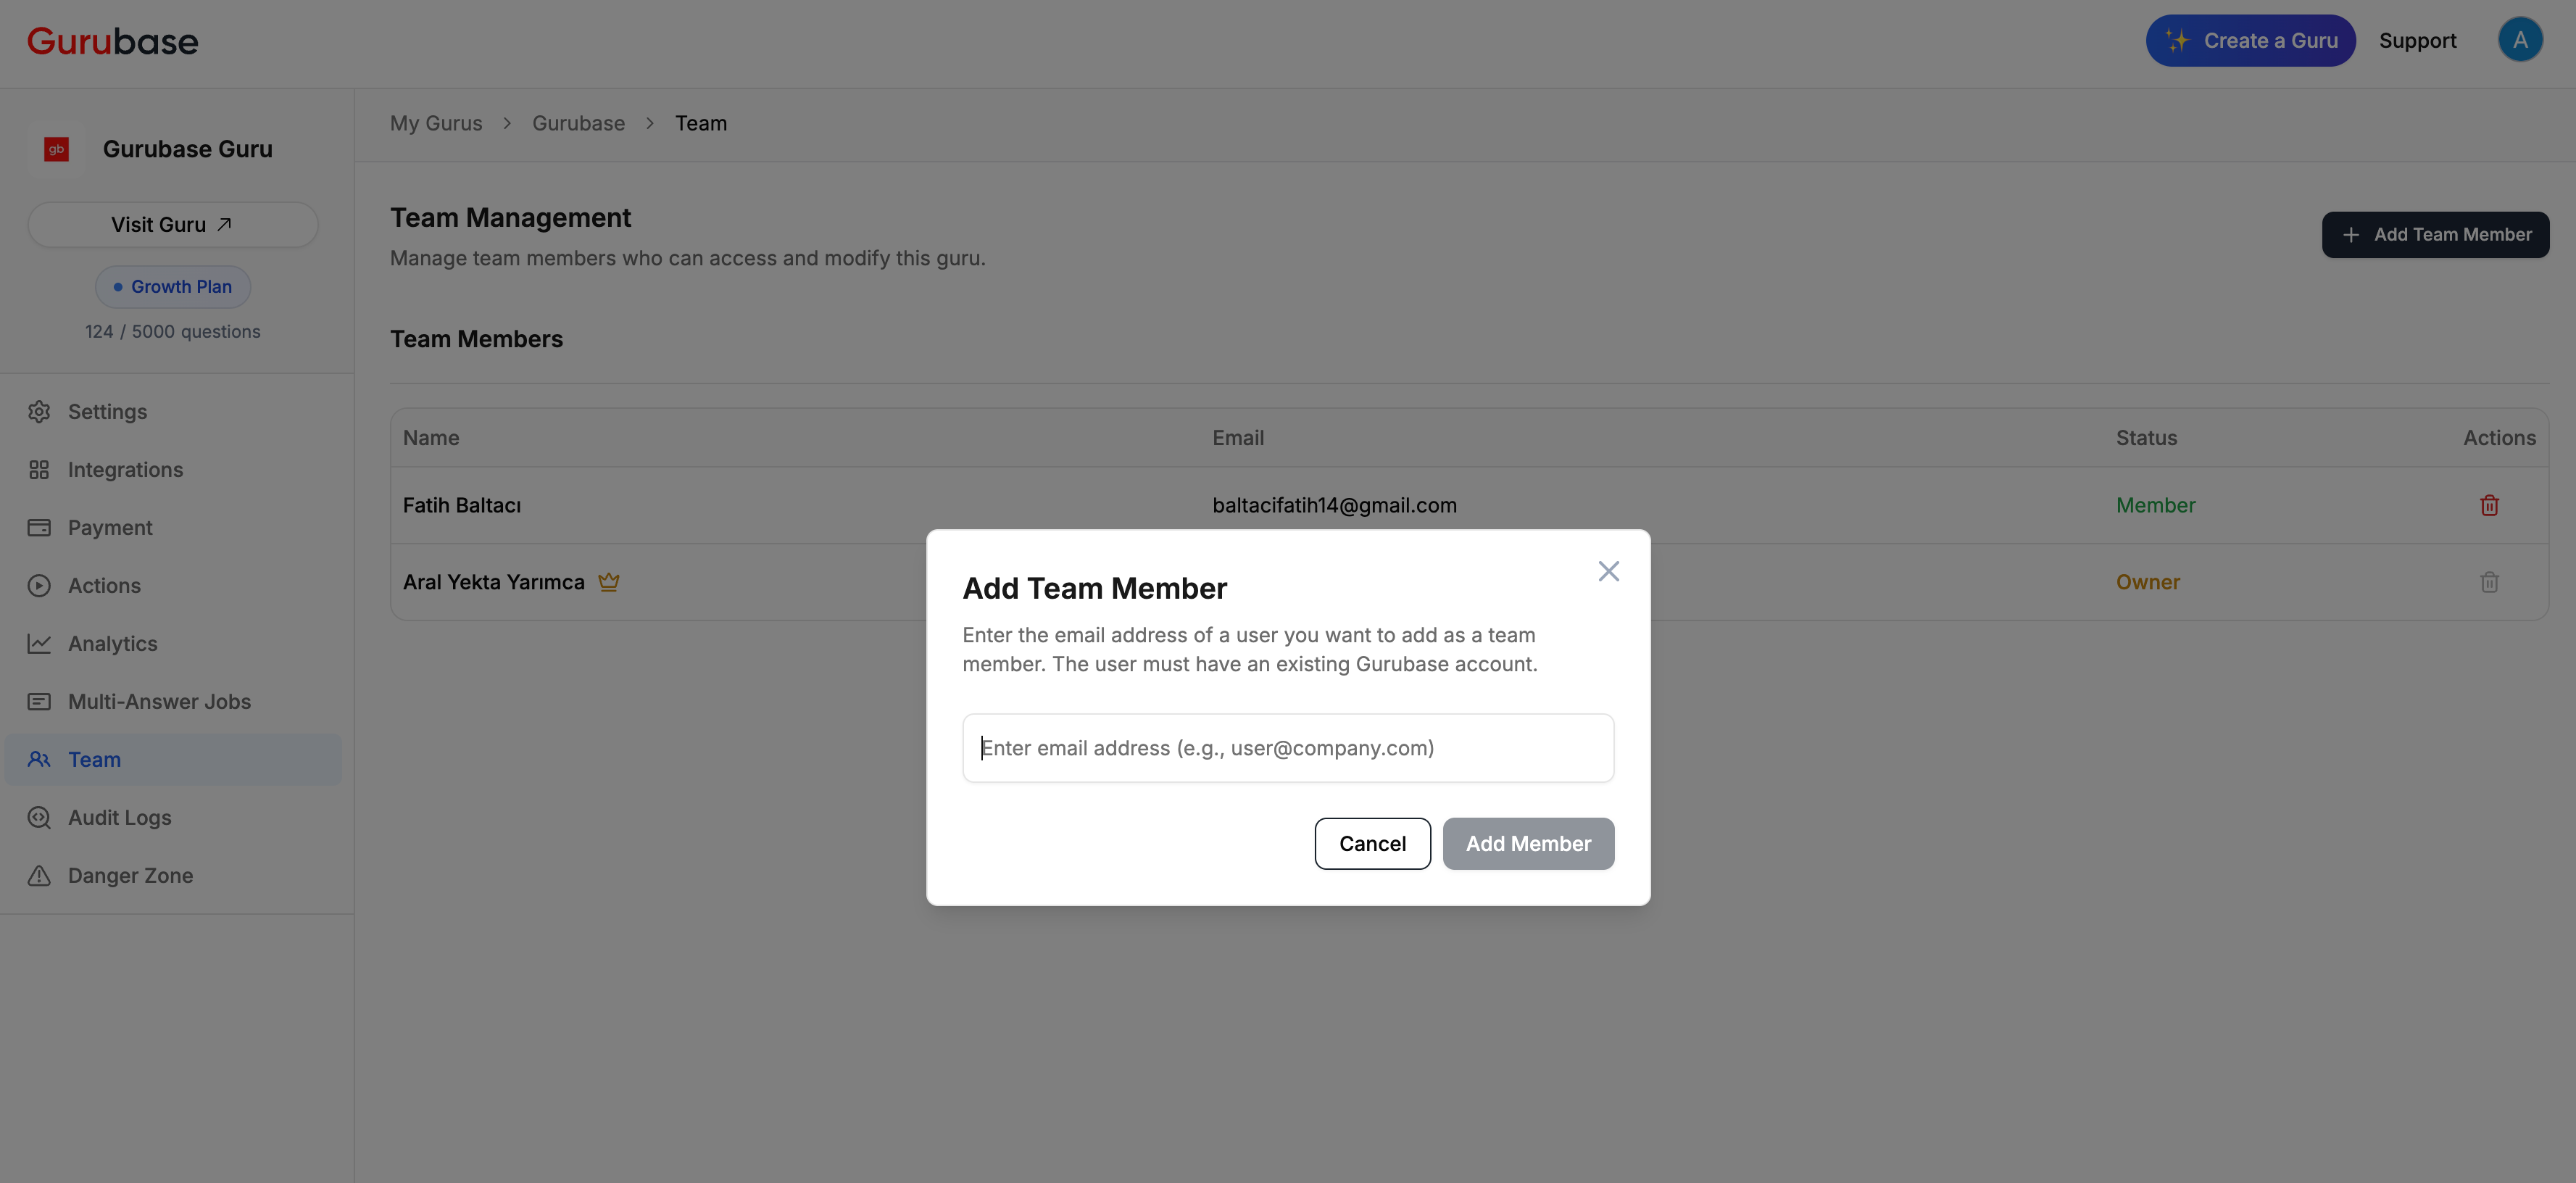
Add a Team Member
End Users Group
Every Guru comes with a built-in End Users group. Team members added to this group can only ask questions through the chat interface. They cannot access the admin panel (Settings, Integrations, Actions, Secrets, Analytics, Team, Triage, MCP, or Multi-Answer Jobs). This is useful when you need to add users to a private Guru for Q&A access without giving them admin privileges. For example, in an enterprise scenario where employees should ask the Guru questions but not modify its configuration.Go to Team > Groups tab
Navigate to your Guru’s Team page and click the Groups tab. The
End Users group is listed with a Built-in badge and cannot be
renamed or deleted.
Add members to End Users
Click the Members tab and use the Groups column to assign users to
the End Users group.
Self-Hosted (Enterprise)
Self-hosted deployments have additional user management capabilities accessible from the Settings page.Roles
| Role | Scope | Permissions |
|---|---|---|
| Super Admin | Platform-wide | Full access to all Gurus and settings |
| Guru Admin | Per Guru | Modify Guru configuration and settings |
| Guru Viewer | Per Guru | Can only ask questions |
User Management
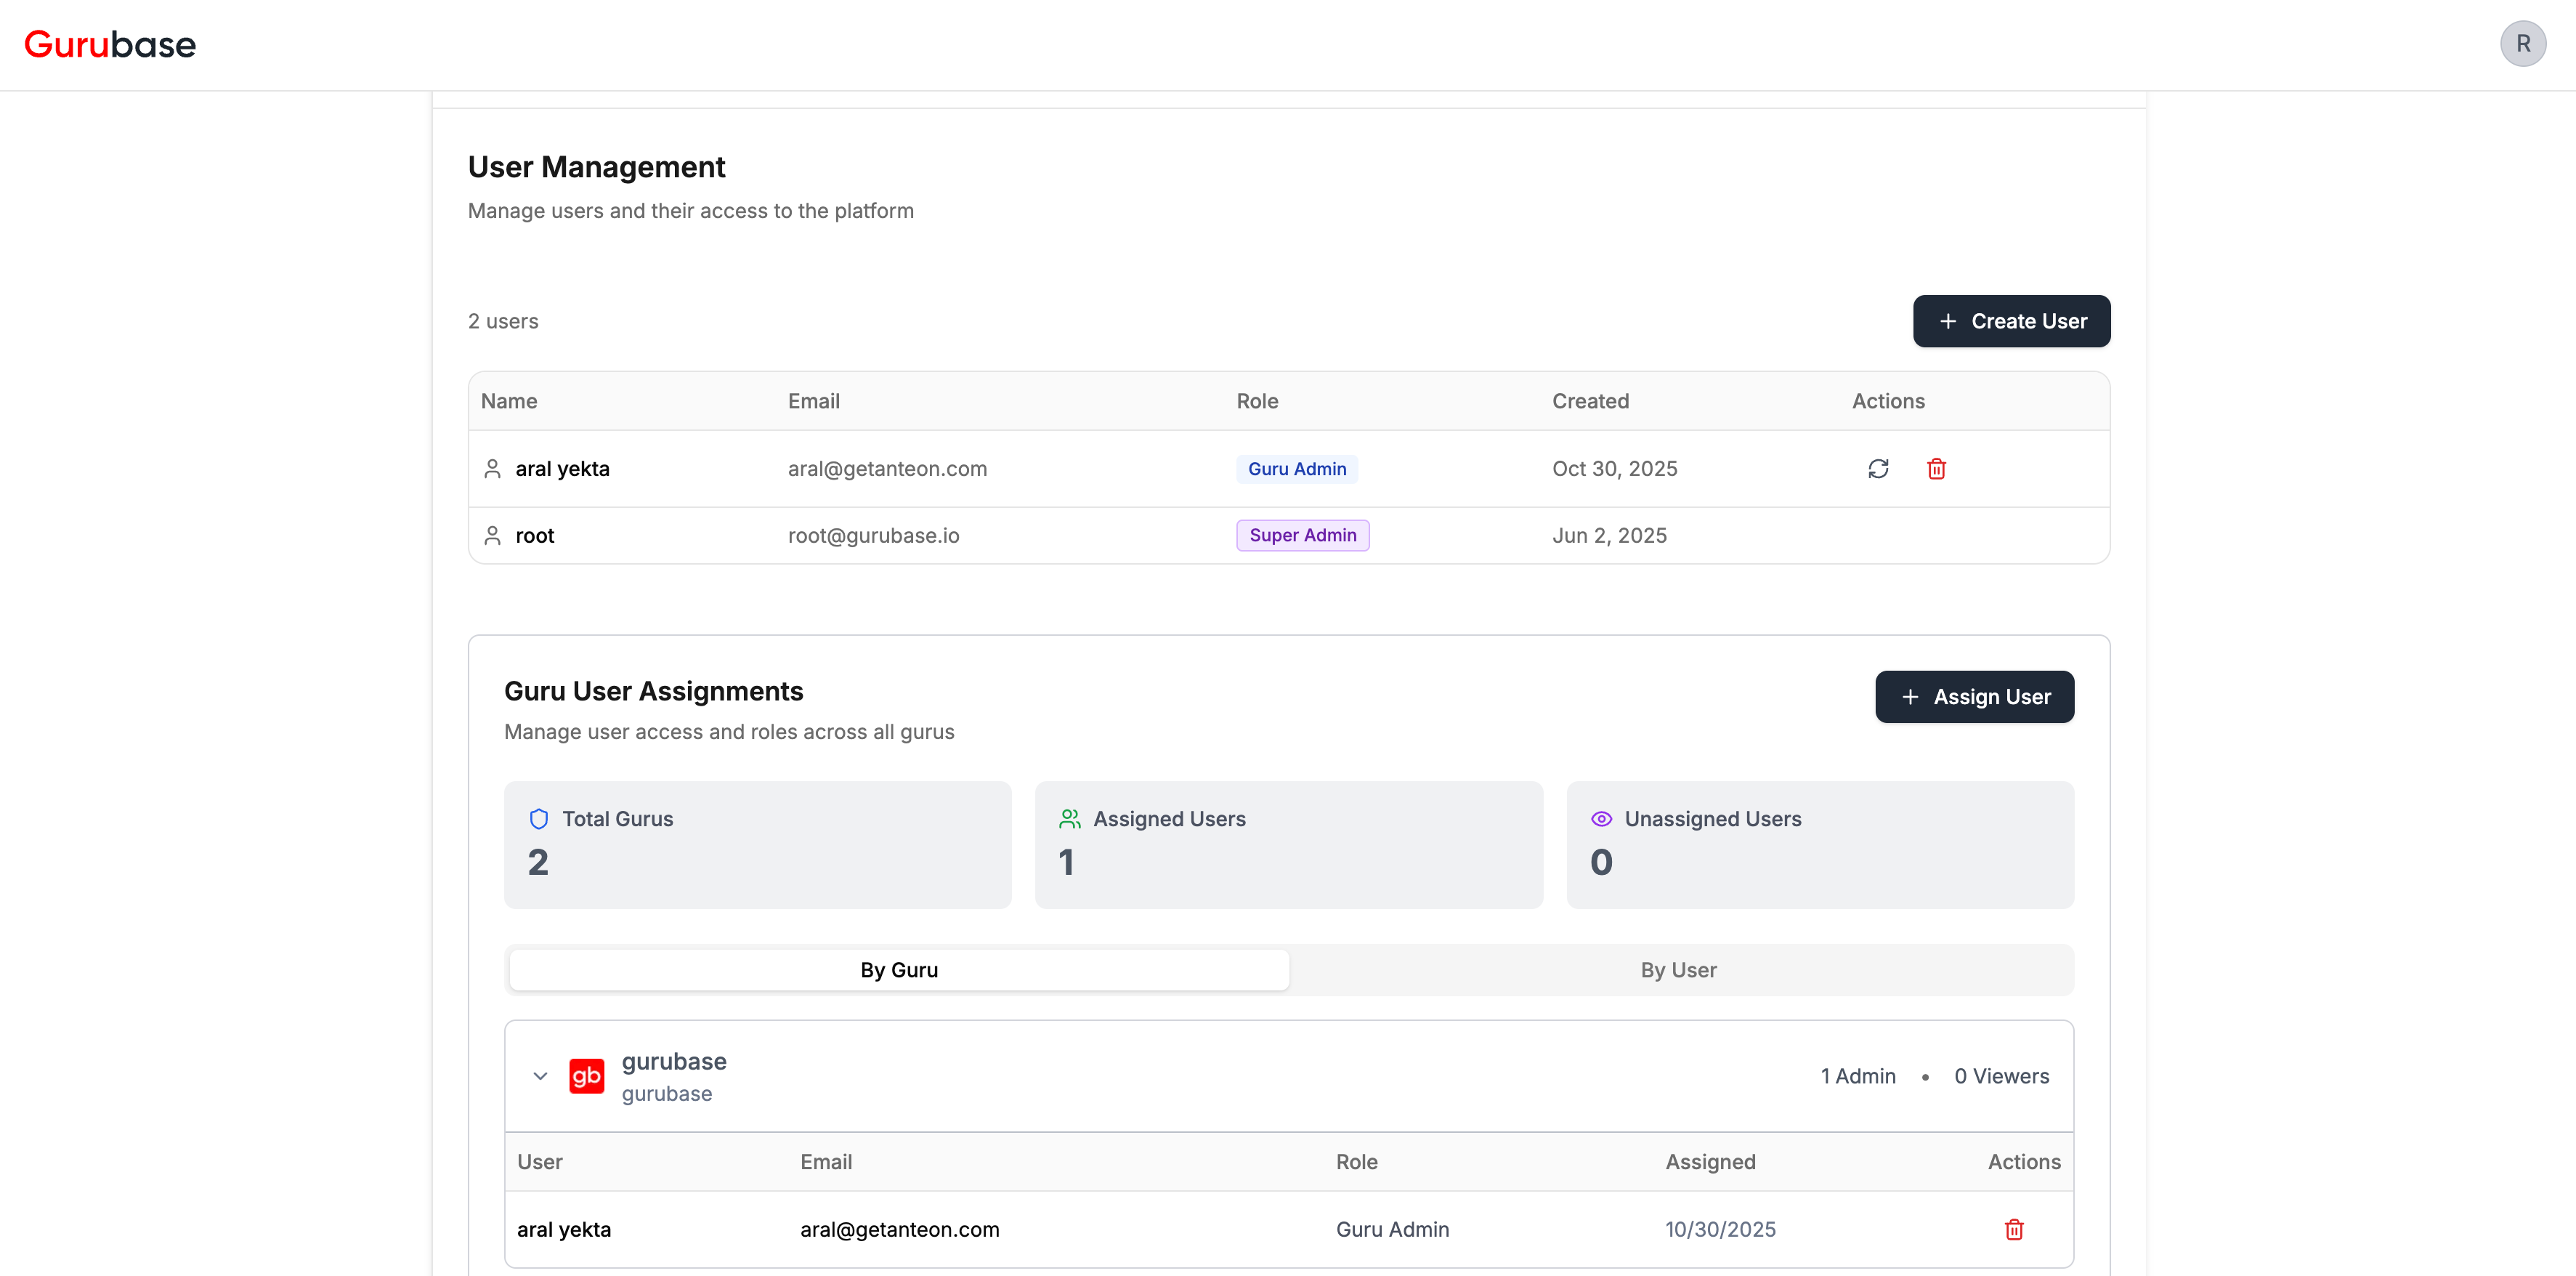
- User Management - List of all platform users with their roles
- Guru User Assignments - Manage which users have access to which Gurus
Creating a User

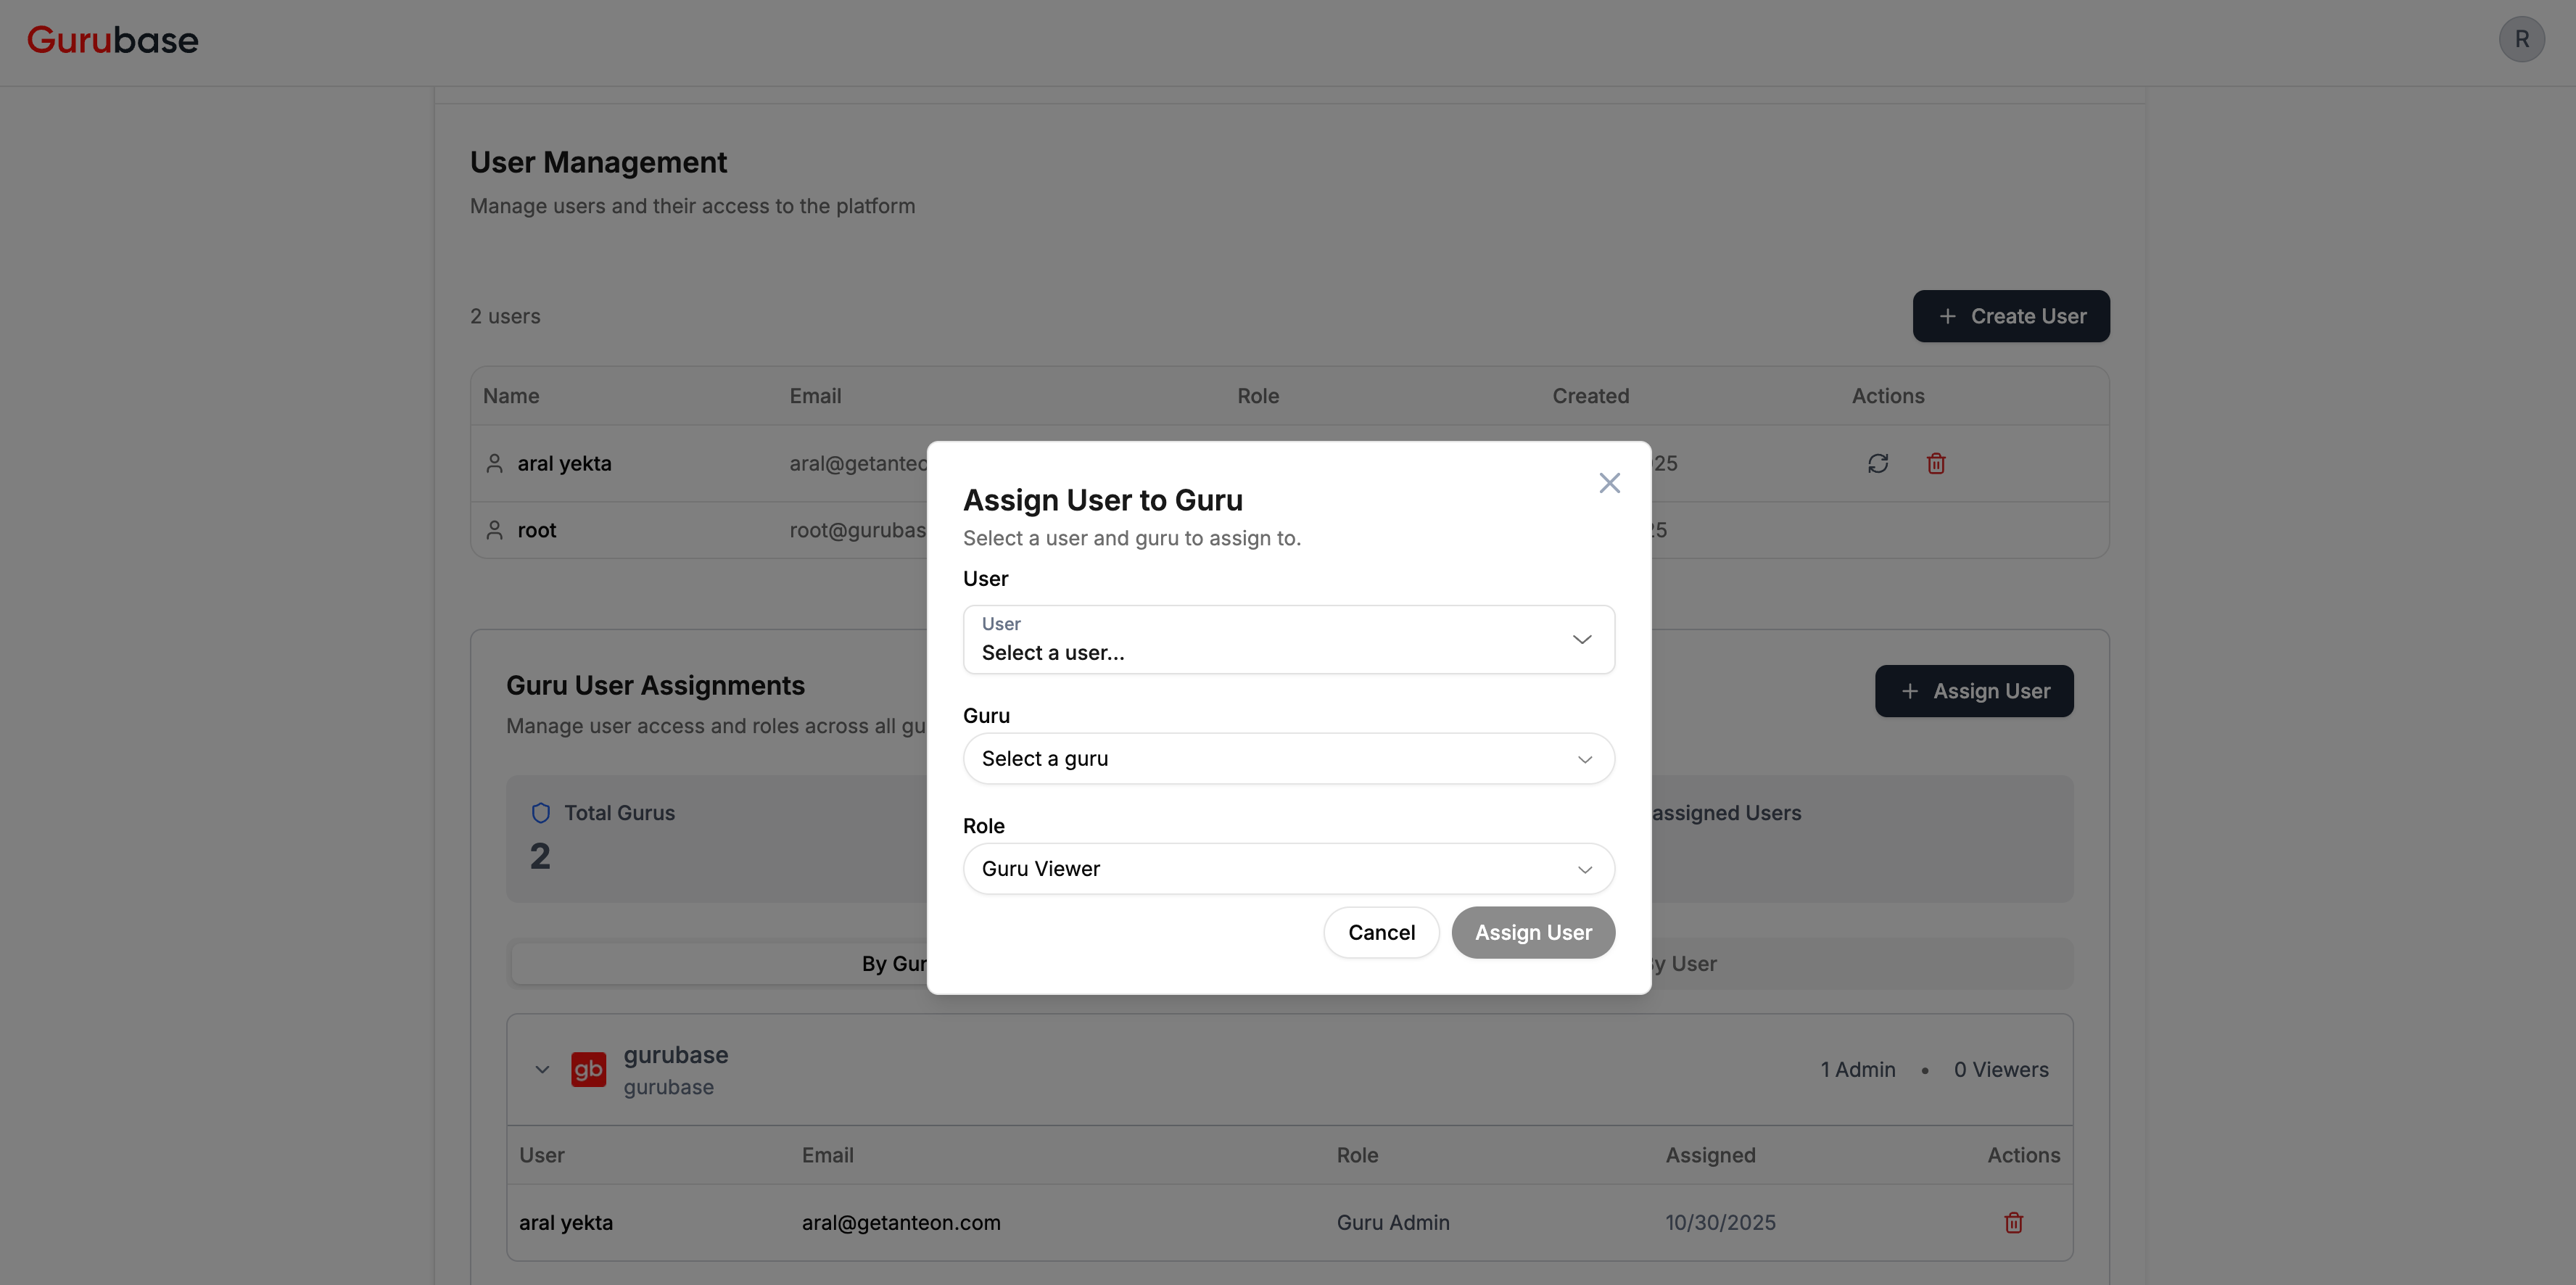
Assigning Users to Gurus
User Actions
| Action | Description |
|---|---|
| Reset Password | Generate a new random password. User must set their own on next login. |
| Delete User | Permanently remove the user from the platform. |
Next Steps
Audit Logs
Track user actions and API calls
Analytics
Monitor how users interact with your Guru