Why Use the Jira Bot?
Auto-Answer Tickets
Bot automatically responds to new tickets matching your JQL query
Reduce Response Time
Instant answers from your knowledge base while agents handle complex issues
JQL-Powered Targeting
Control exactly which tickets the bot monitors using Jira Query Language
Context-Aware
Answers consider ticket title, description, and comments
How It Works
| Mode | Behavior |
|---|---|
| Auto | Bot automatically responds to new tickets matching your JQL. Also responds when mentioned |
| Manual | Bot only responds when explicitly mentioned with @gurubase |
Self-hosted: This integration is currently in beta for selected users.
Cloud: Available to all users.
Setup
Create Atlassian API Token
- Go to Atlassian API Token settings
- Click Create API token
- Copy the token
Navigate to Jira Bot
Go to Gurubase Dashboard → Select your Guru → Integrations → Deployments → Jira
Connect Your Jira
Fill in the connection details:
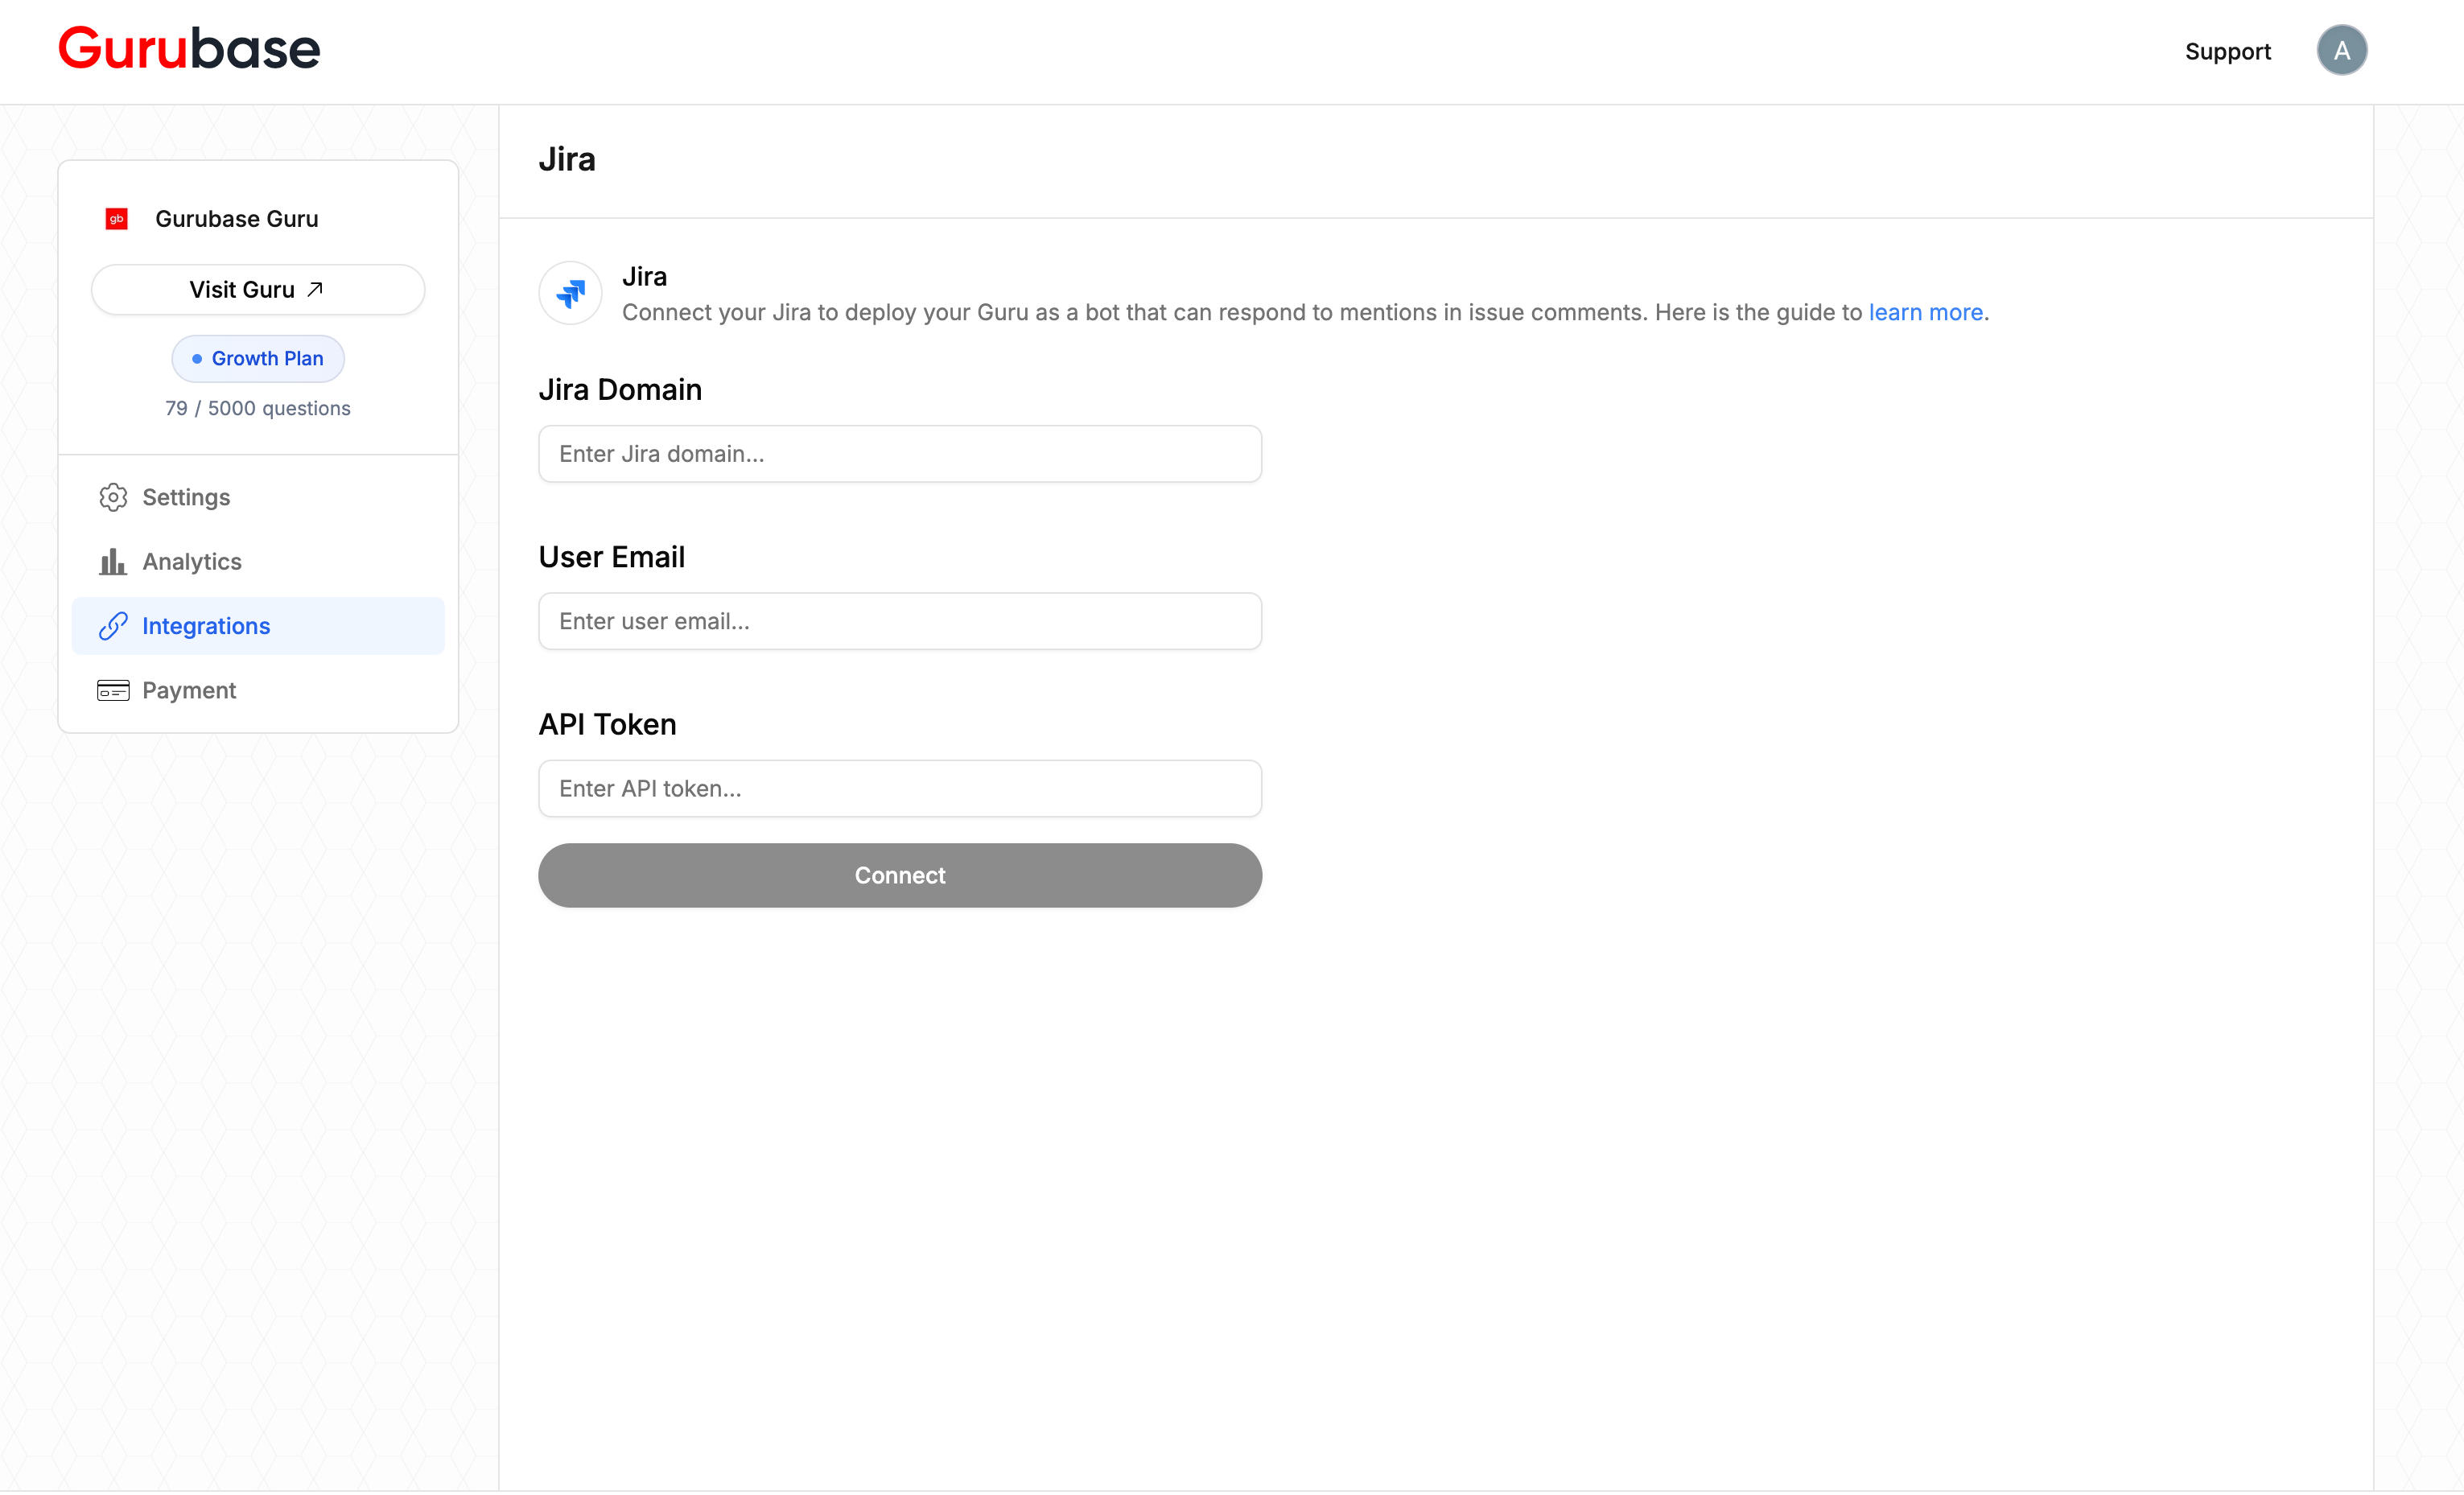
| Field | Value |
|---|---|
| Domain | Your Atlassian domain (e.g., your-domain.atlassian.net) |
| User Email | Your Atlassian account email |
| API Token | The token you created in Step 1 |

Using the Bot
Once configured, the bot automatically monitors tickets matching your JQL query and responds based on your mode setting. To manually trigger a response, mention the bot in any ticket comment:Next Steps
Jira Data Ingestion
Import Jira tickets as knowledge sources
Slack Bot
Add Gurubase to your Slack workspace
Zendesk Bot
Deploy Gurubase in Zendesk
Data Sources
Add documentation the bot will reference