

Why Ingest Zendesk Data?
Learn from Past Tickets
Your resolved tickets contain answers to questions that will come up again
Knowledge Base Sync
Keep your Guru updated with your latest help center articles
Attachments Included
Images and text files attached to tickets are indexed too
Auto-Sync
Backfill jobs automatically import new content on a schedule
What Gets Indexed
Self-hosted: This integration is in beta for selected users.
Cloud: Available to all users.
Setup
Zendesk is retiring API tokens. No new token can be created after October 27, 2026, and every existing token is deactivated on April 30, 2027. Connect with OAuth instead.
1
Create a Service Account (Recommended)
A Zendesk access token acts as the user who created the OAuth client, and that ownership cannot be transferred afterwards. Create the client with your own account and every call Gurubase makes is attributed to you in audit logs and ticket history, and the integration stops working the day your account is deactivated or your role changes. A dedicated service account avoids both.In Admin Center, go to People → Team members → Add team member. Use an address your team controls, e.g.
[email protected], and give it the Admin role.Admin role is not optional. Only admins can open the OAuth clients page, and ingestion calls Zendesk’s incremental ticket export endpoint, which Zendesk allows for admins only. Downgrading the account later stops functionality.Activate the account, then sign in as it before the next step. The owner is whoever is signed in when the client is created.This is a recommendation, not a requirement. An Admin team member uses an agent seat. If you would rather not spend one, create the OAuth client from an existing admin account instead and accept that the integration is tied to that person.
2
Create a Zendesk OAuth Client
Signed in as the account from Step 1, go to Apps and integrations → APIs → OAuth clients in Admin Center, then click Add OAuth client.
Save, and copy the two values you need:
- Identifier: the short text field you chose, e.g.
gurubase. This is the client id. It is not the numeric id shown in the clients list, which is the single most common mistake here. - Secret: generated on save and shown only once.
3
Navigate to Zendesk Integration
Go to Gurubase Dashboard → Select your Guru → Integrations → Ingestions → Zendesk
4
Connect Your Zendesk
Fill in the connection details:
Leave Zendesk User Email and Zendesk API Key (both marked legacy) empty. They are the legacy method and exist only so integrations created before OAuth keep working.
How Gurubase Uses the Credentials
Gurubase exchanges the client id and secret for a short-lived access token and re-mints it automatically, so there is nothing to rotate by hand. A token is valid for at most 48 hours. Two tokens come from the same client:
The client secret never leaves the Gurubase backend. Actions run in a sandbox and receive a token, never the secret. See the Actions guide for using these tokens in your own Actions.
Migrating an Existing Integration
Open the same page, fill in OAuth Client ID and OAuth Client Secret, and save. Gurubase uses OAuth from the next call onward.Adding Zendesk Content
After connecting, you can import content in two ways: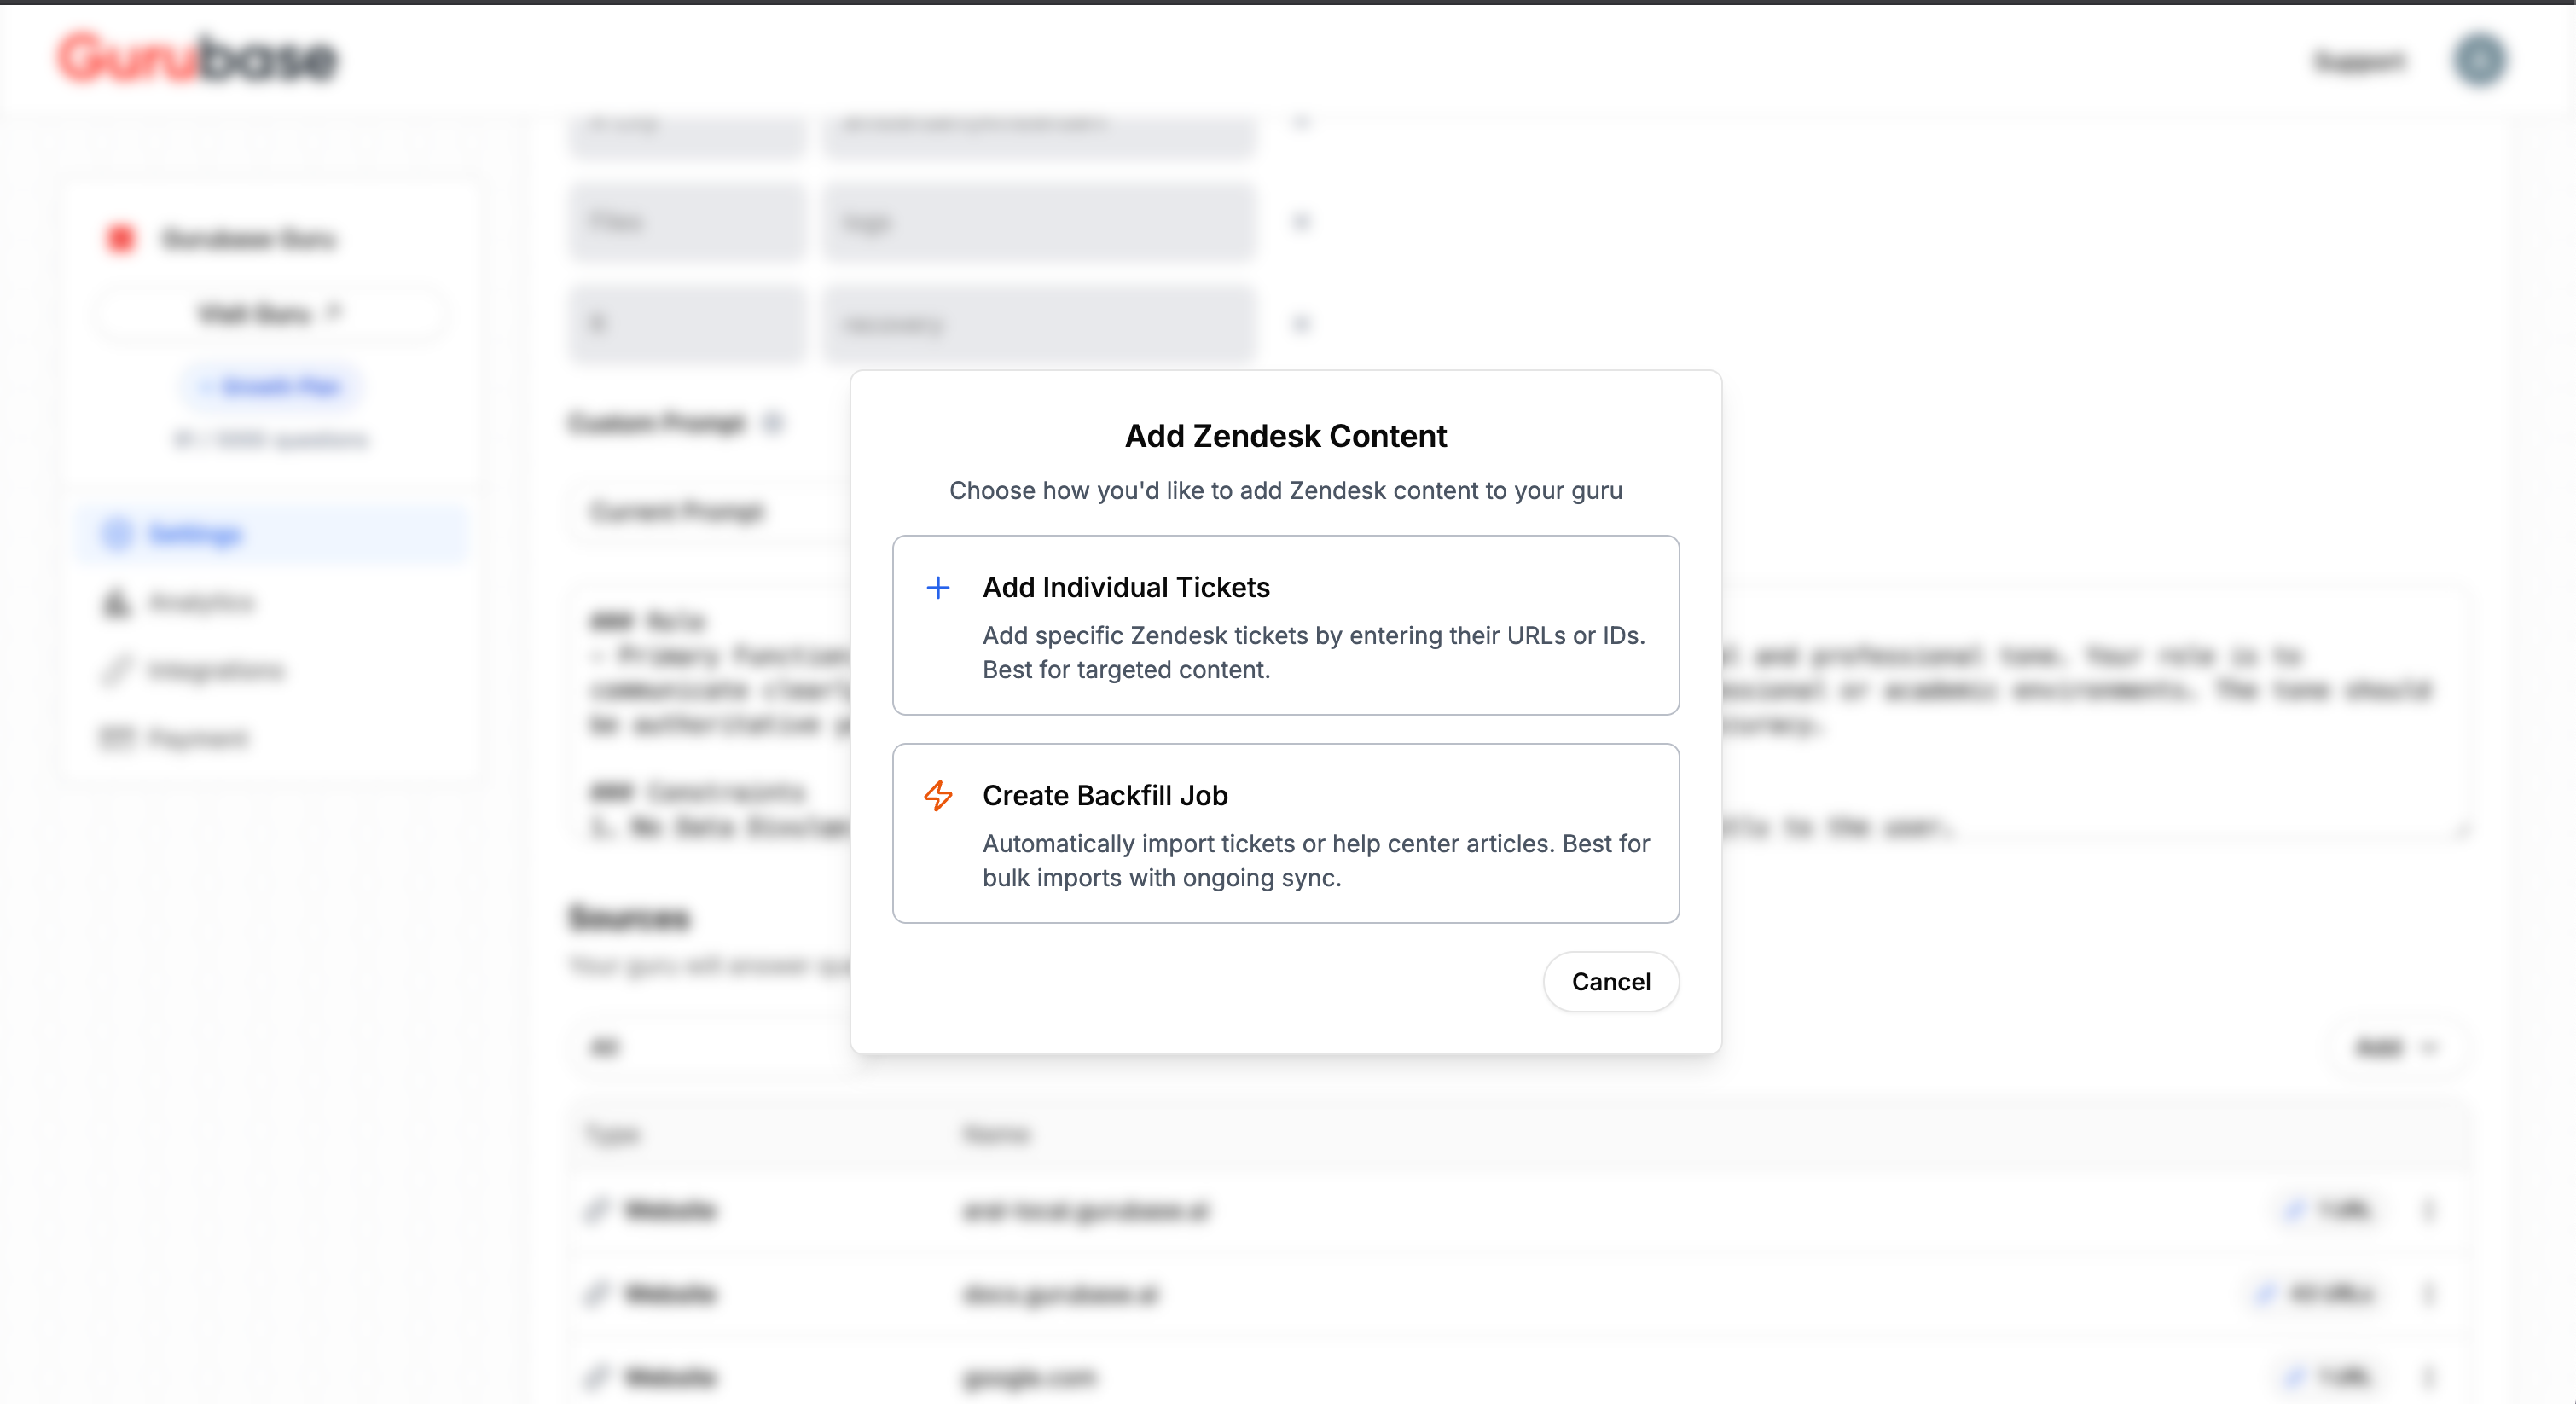
Option 1: Add Individual Tickets/Articles
Best for importing specific tickets or articles by URL.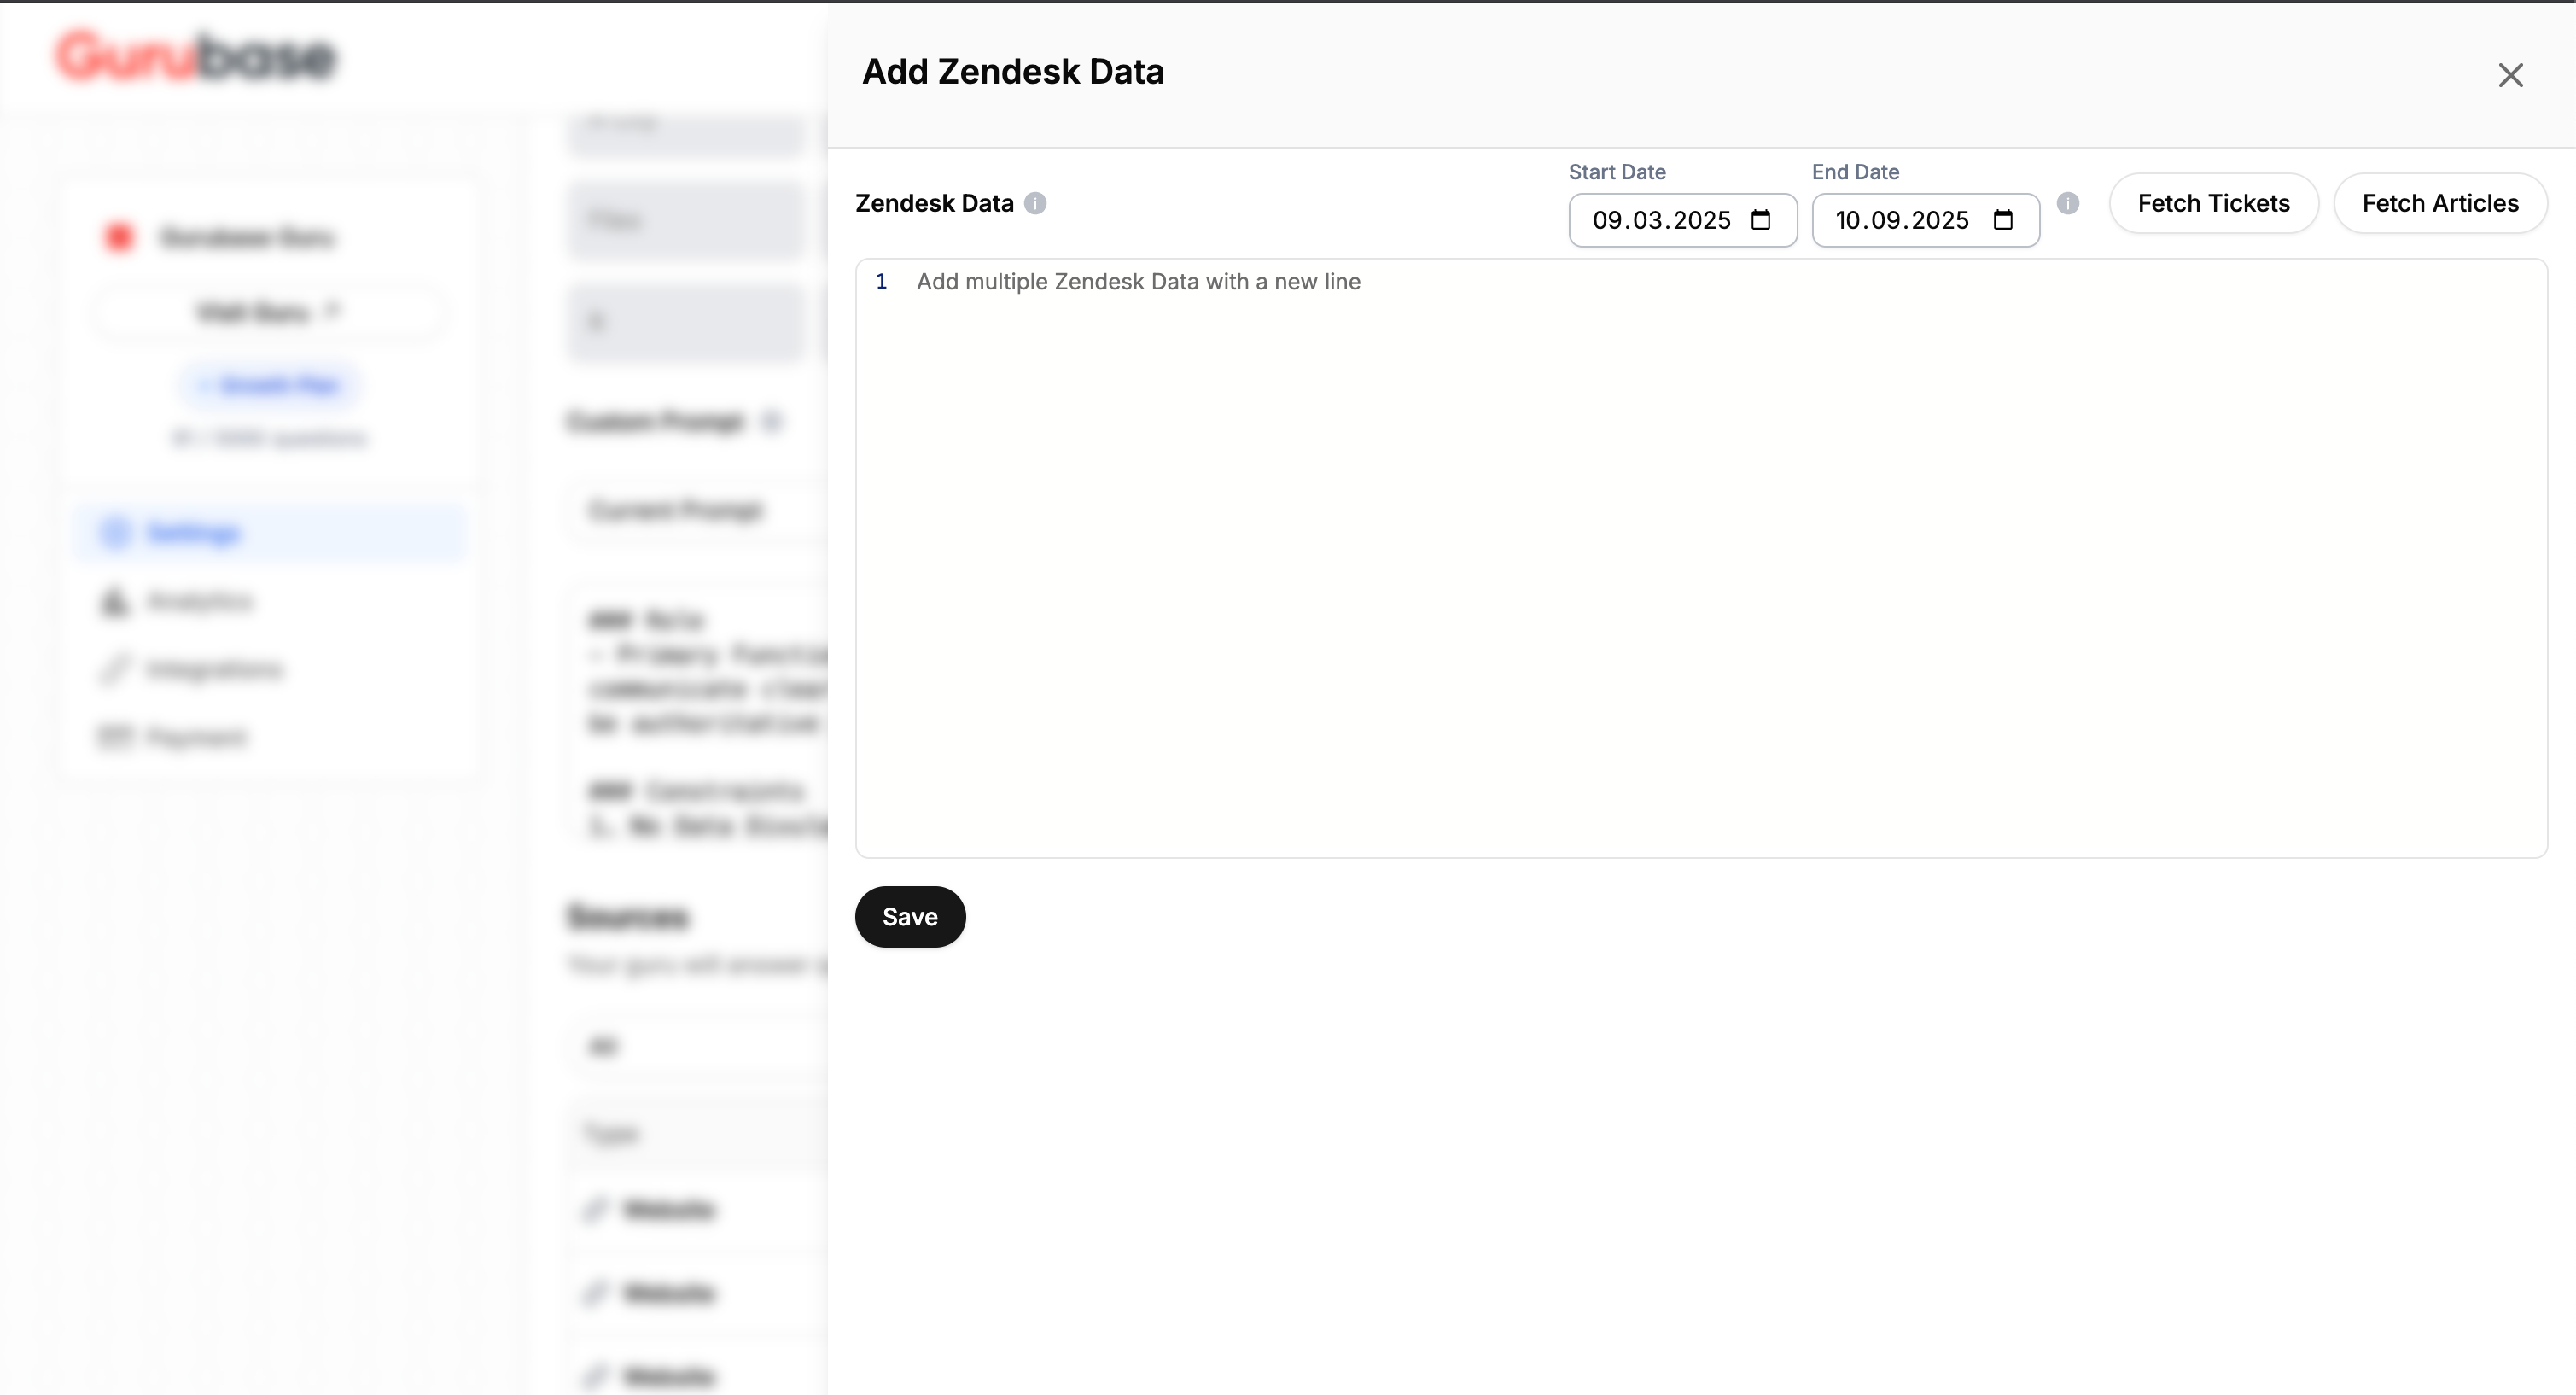
Option 2: Create Backfill Job
Best for bulk imports and automatic ongoing sync.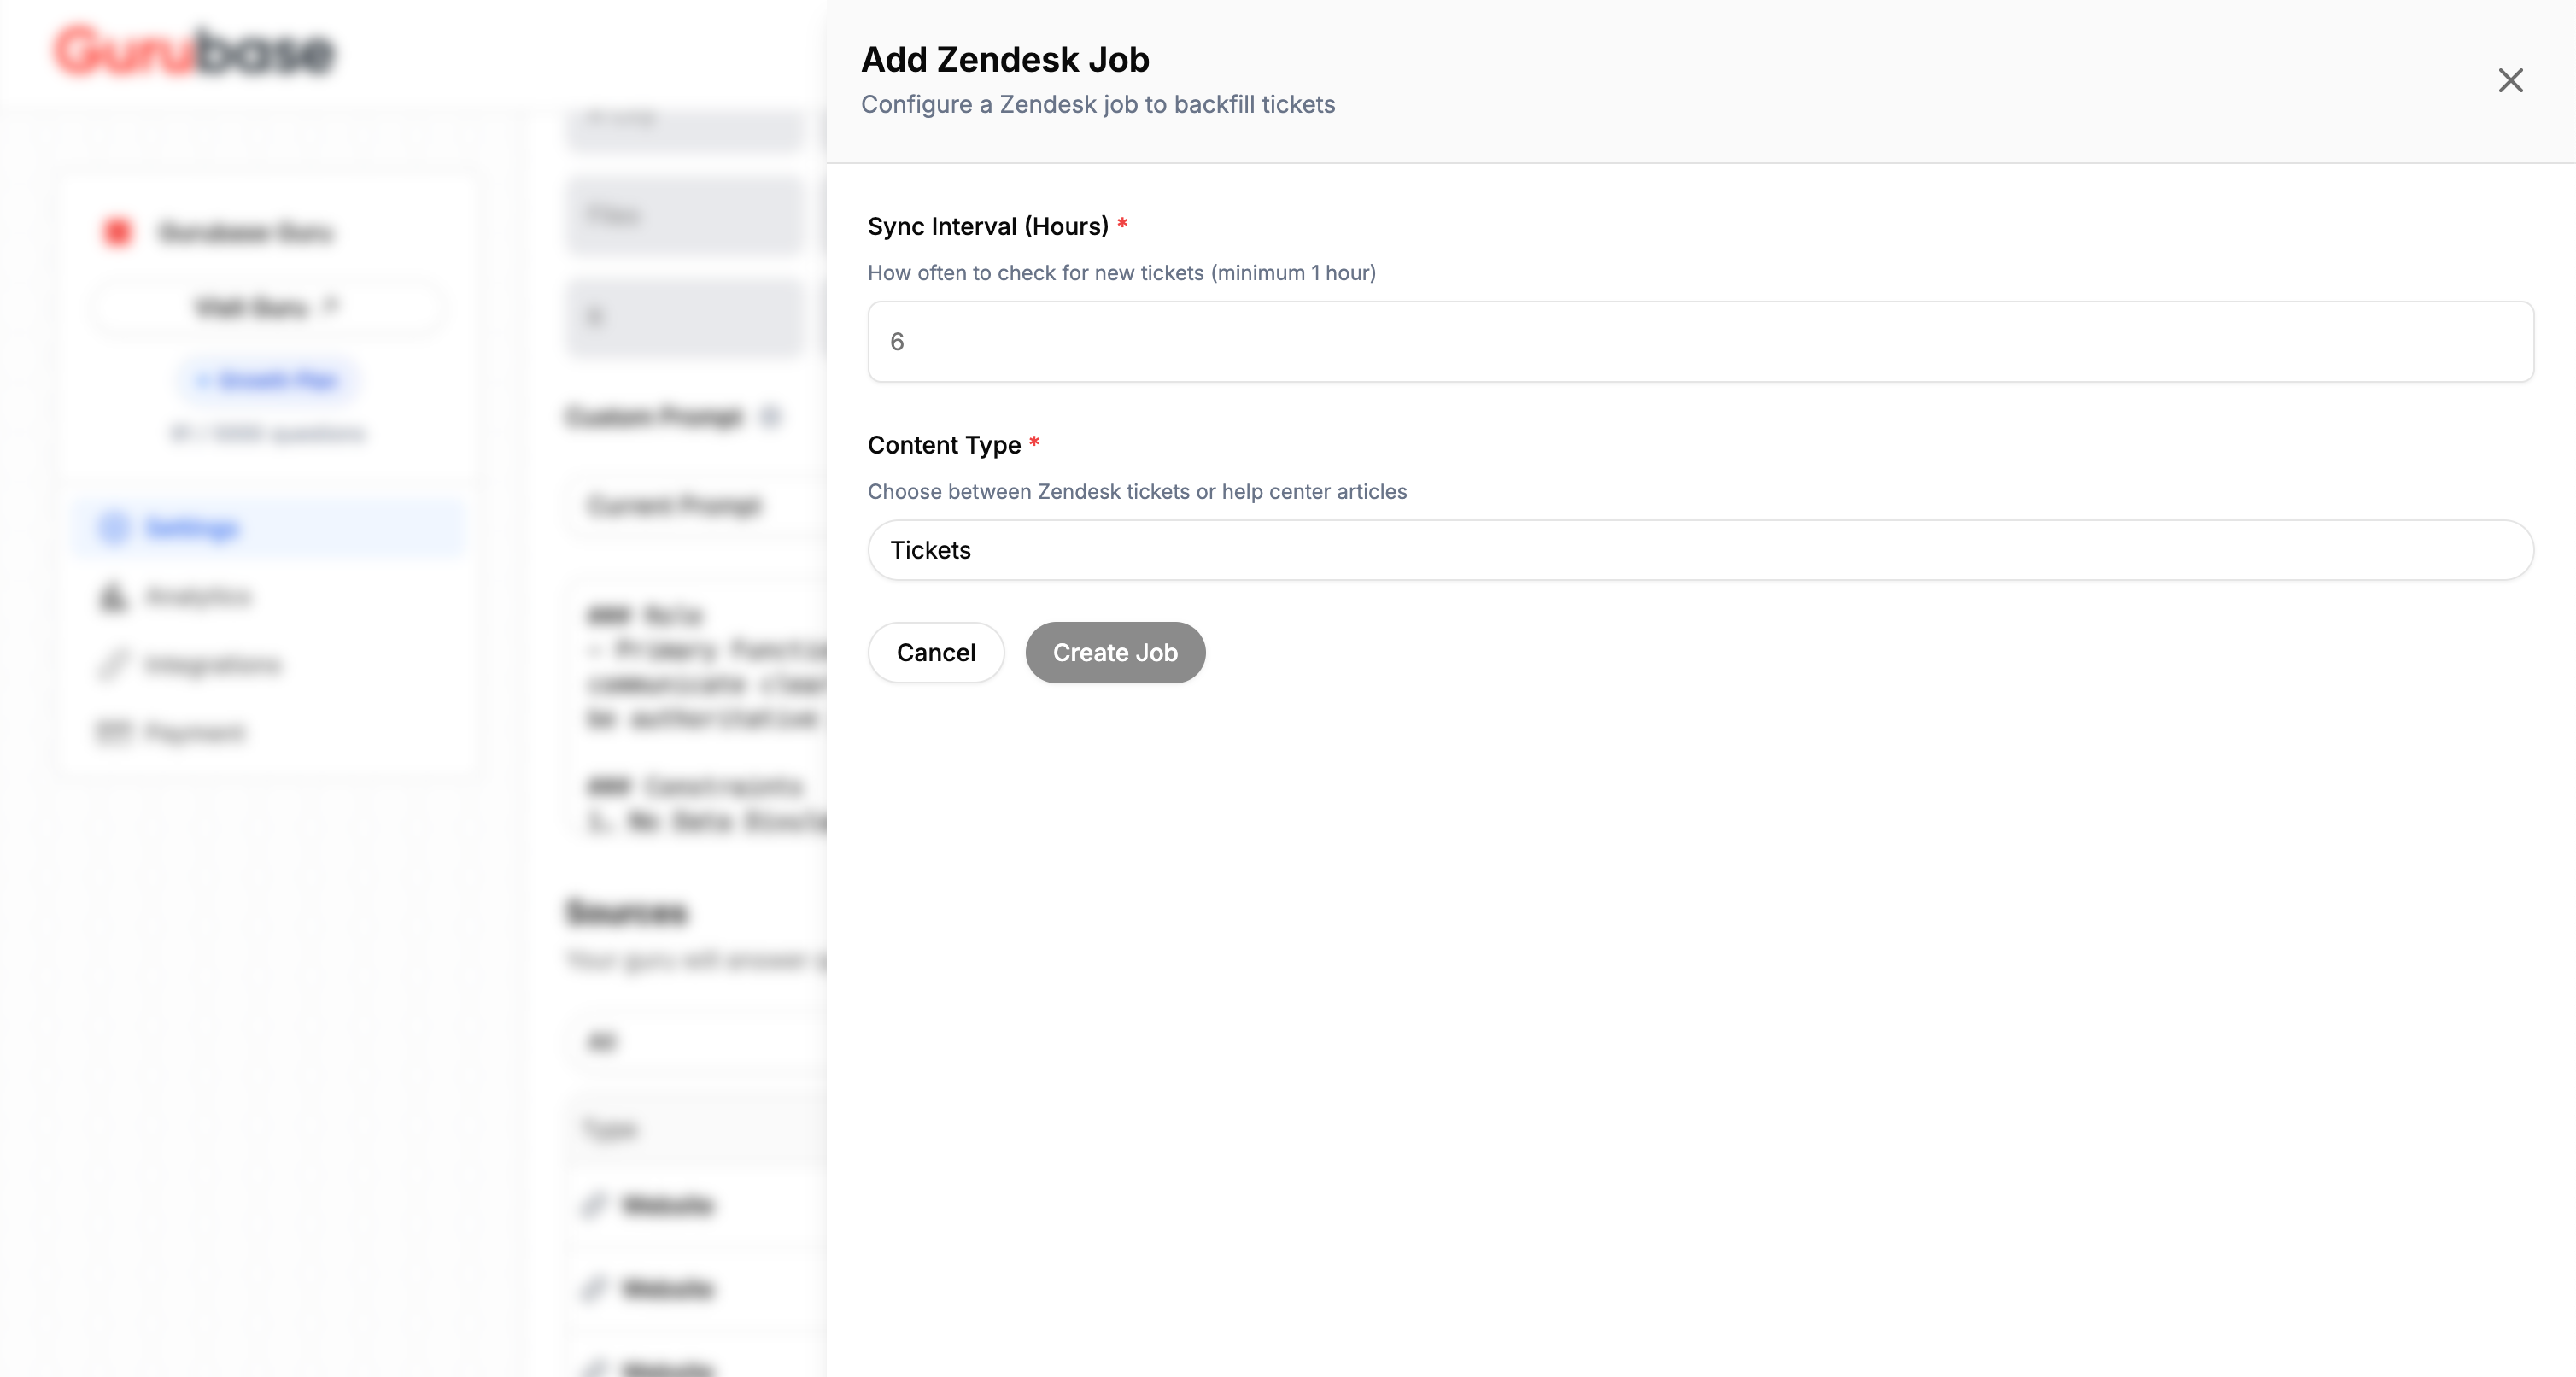
Viewing Indexed Content
Imported tickets and articles appear as individual sources in your Guru’s data sources list. You can:- View the exact content that was indexed
- Remove specific tickets or articles
- Check when content was last synced
Next Steps

Zendesk Bot
Deploy Gurubase as a Zendesk app for agents

Jira Ingestion
Import Jira tickets as knowledge sources

Confluence Ingestion
Import Confluence pages
Data Sources
Add more knowledge sources